In this document and accompanying video we will look at some of the new enhancements for the image upload feature in a Grid Component.
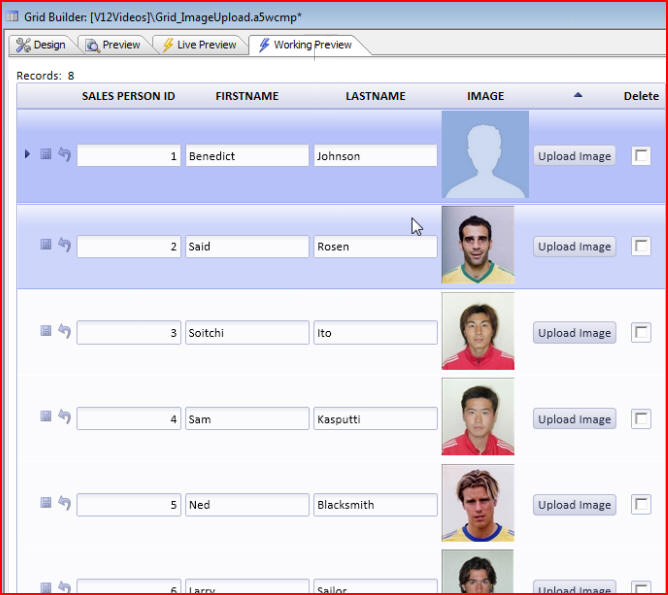
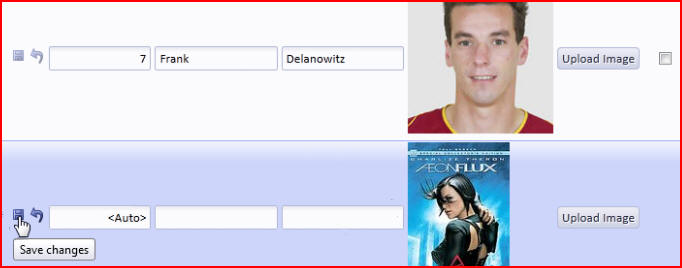
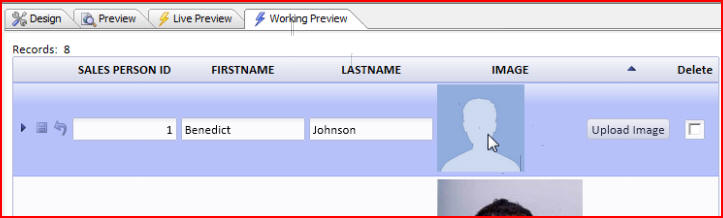
In previous versions you could only upload images to an existing record but you were not able to upload images to the new record row. Now you can easily upload images to the new record row by clicking on the new record, then clicking the Upload Image button:
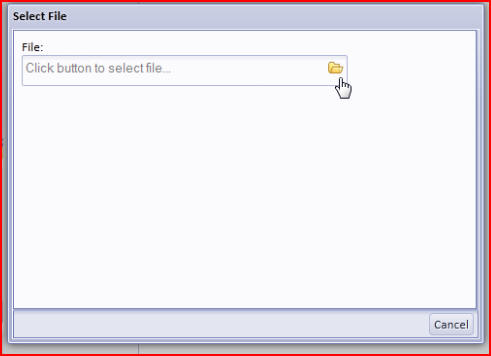
A Select File window will open:
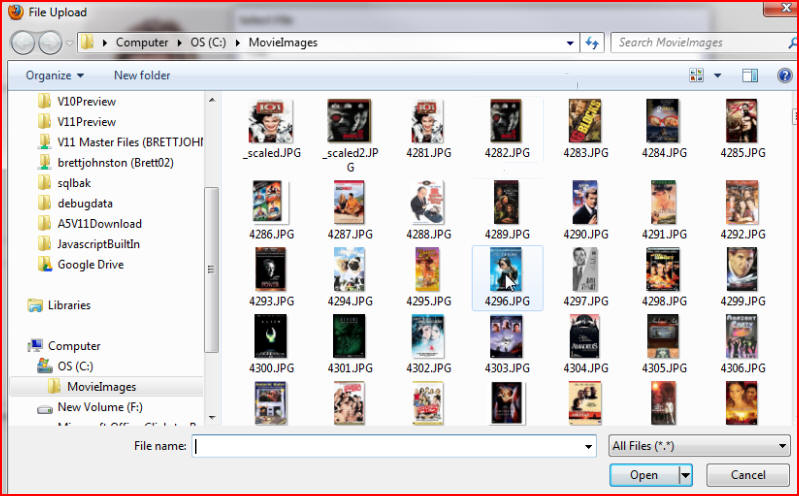
For this example we will choose an image from our MovieImages folder:
The image is automatically uploaded to our new record, and the record is committed:
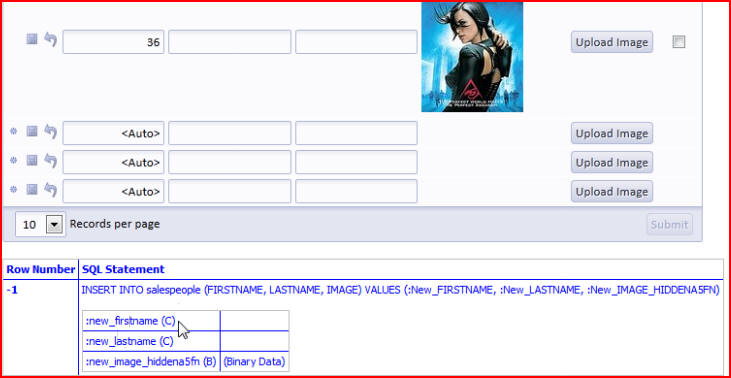
We can see from the SQL statement that was generated during the upload process that although we did not fill in any data for the first name and last name fields, Alpha Five inserted some binary data into the image field:
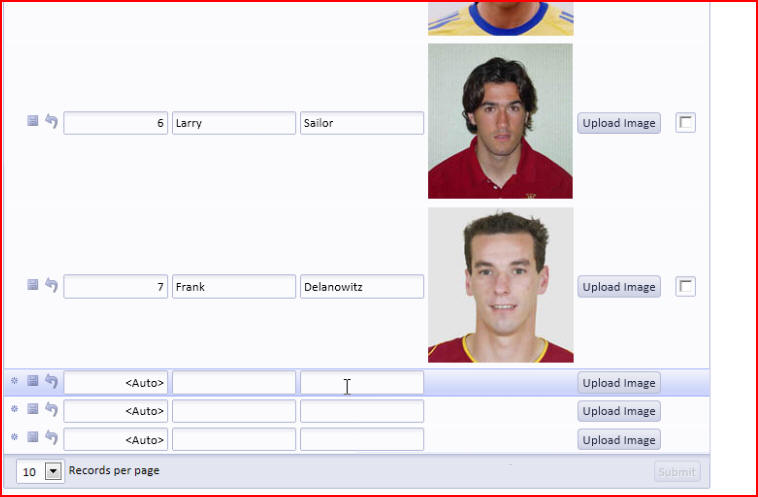
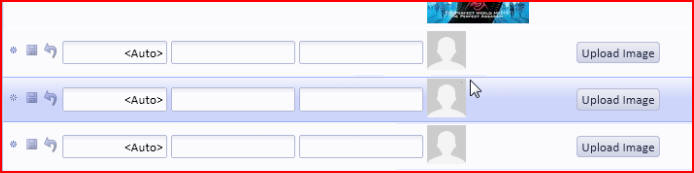
Another enhancement to the upload image feature is the ability to specify when an image is missing from a record row, or could be inserted into a record row. In the two examples below it is not necessarily obvious to a user that an image could be displayed in these record rows:


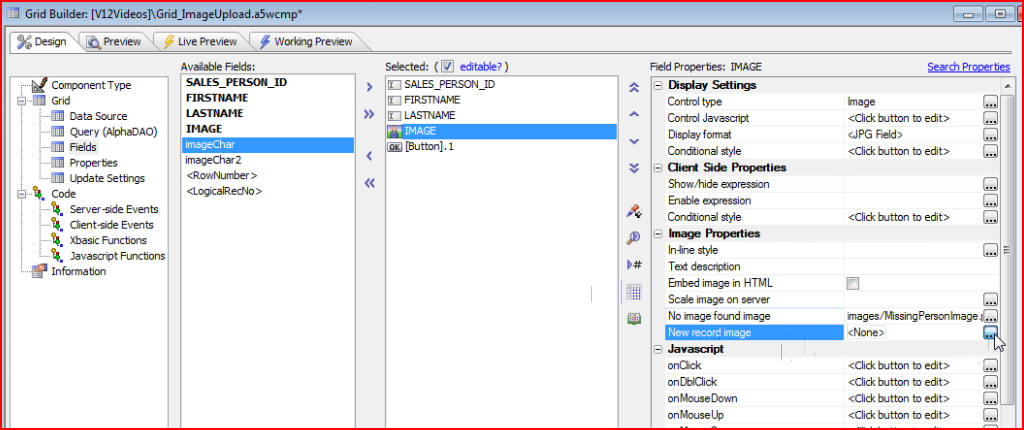
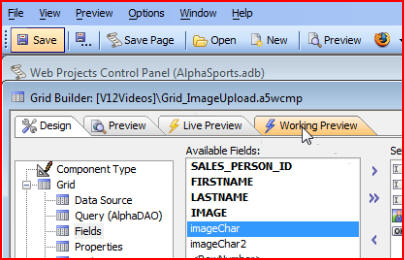
We can easily upload a place-holder image in those record rows to more clearly indicate that an image could be uploaded by the user. First we click on the Design tab to take us to the builder:
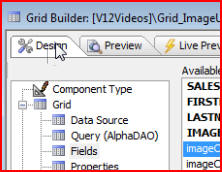
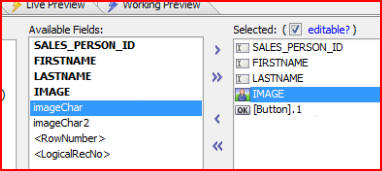
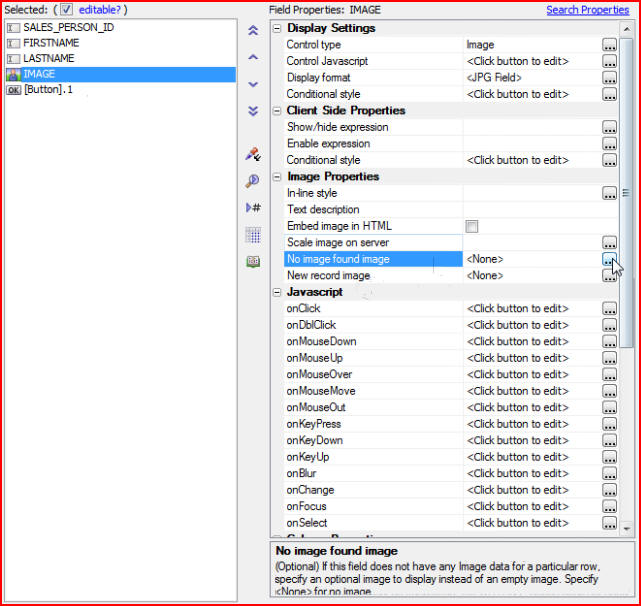
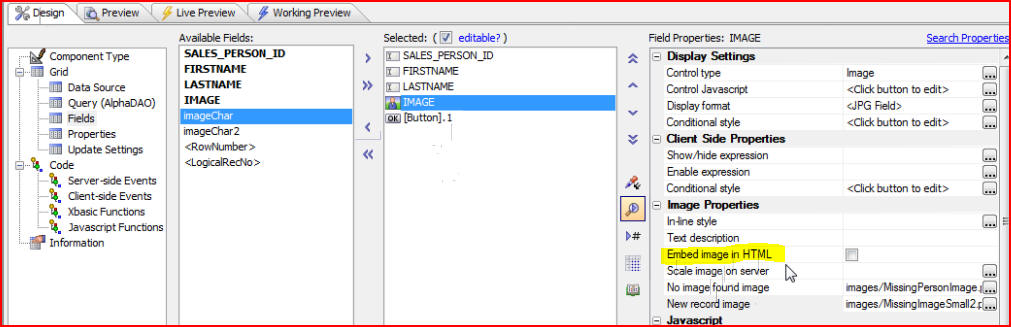
Then we click on the IMAGE field:
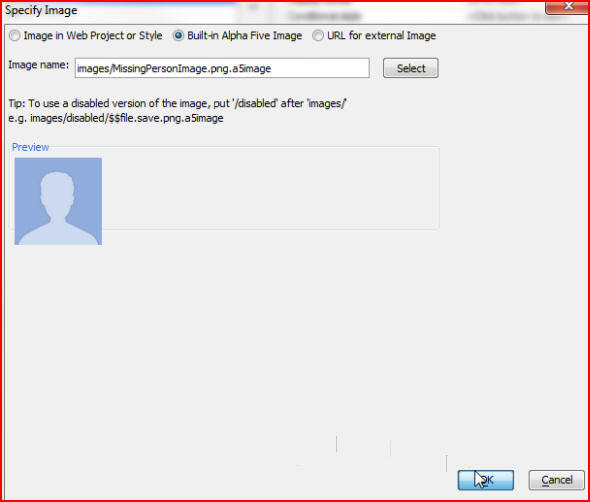
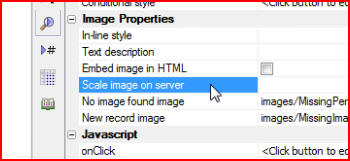
Now we can look at some of its properties. Let's start with the No image found image property:
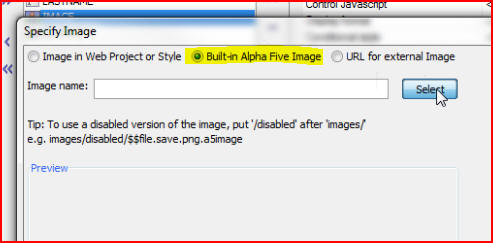
Let's choose a Built-in Alpha Five Image, although any image could be used:
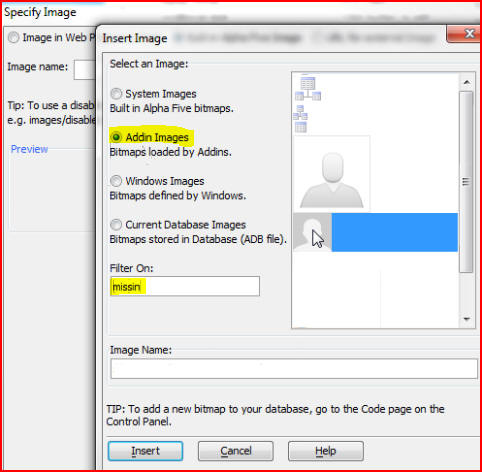
We will specify Addin Images, then type missing to bring up image selections that represent missing images:
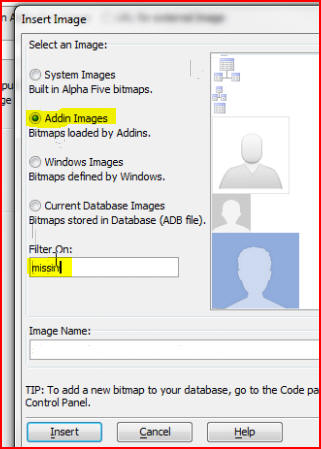
We will choose this image, then click Insert:
Click OK to finish inserting the image:
Now let's choose an image for the New record image property:
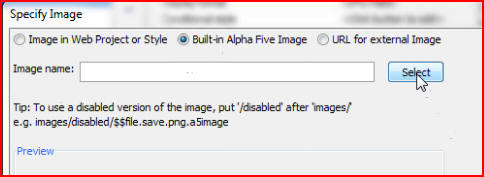
Again, let's use one of the built-in images in Alpha Five:
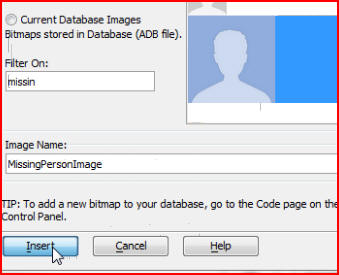
And again let's choose Addin Images, then type missing to bring up image selections, but this time let's choose this smaller missing image icon:
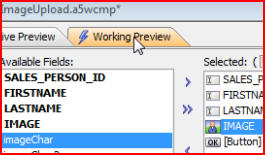
Click Save then click on the Working Preview tab:
Now record 1 has a missing image icon:
And the new record rows have smaller missing image icons:
These icons make it obvious to the user that there are missing images in these records. We could even put a hot-spot on the missing image icon and create an on-click event there so that the upload image action is performed when the user clicks on the missing image icon.
In addition to the missing image properties in the builder we can also specify that the image should be embedded into the HTML. This will embed the Base64 encoded version of the image into the HTML which means fewer roundtrips to the server to fetch images. When the page is rendered all of the images are already in the page:
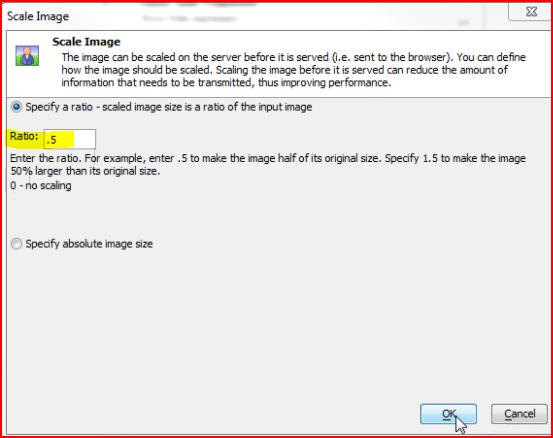
We can also now scale an image on the server before it is rendered:
For example we can specify .5 as the ratio:
Click on the Working Preview tab:
We see that all of the images are half their original size and that scaling was done on the server resulting in a smaller payload (the amount of information that has to be sent from the server to the browser):