In previous documents and videos we have shown how Version 12 allows us to have data bound images on a UX Component, as well as how to upload images to a data bound or non-data bound image control on a UX Component.
The ability to work with images, both displaying data-bound images and inserting data into image fields using the image upload action, is an extremely powerful addition to the UX Component in Version 12.
In this document and accompanying video we will show how data bound image controls can also be inside repeating sections, as well as how to upload images that are inside a repeating section.
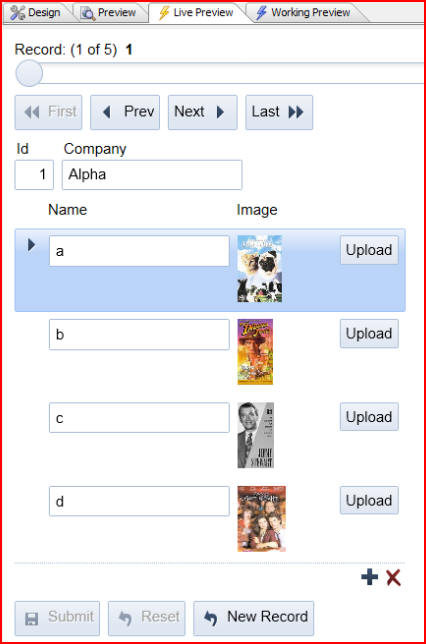
In this example we have a UX Component with a repeating section:
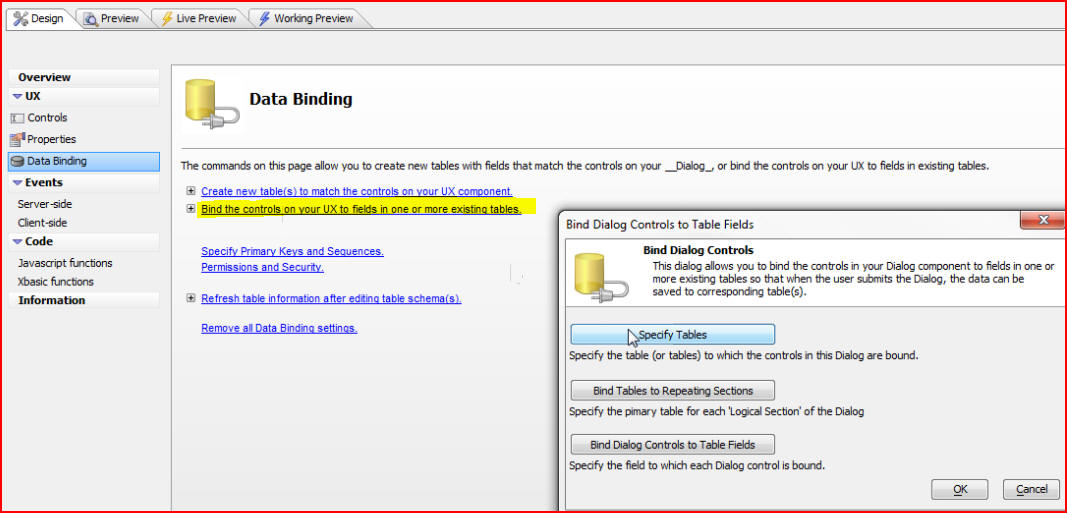
If we click on the Design tab we can take a look at the Data Binding properties. First click on Data Binding, then Bind the controls on your UX to fields in one or more existing tables, and lastly, click on Specify Tables:
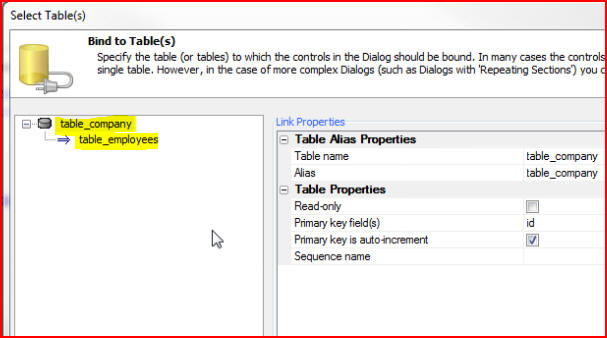
When the Select Table(s) window opens we see that the data is bound to two tables, table_company and table_employees, and that there is a one-to-many relationship between these two tables:
Click on the Live Preview tab to run the component. We see that the images are in the one-to-many side of the relationship. For each company there are multiple records, and each record has an image control. This illustrates that the image control in the component has been bound to a field in the underlying table:
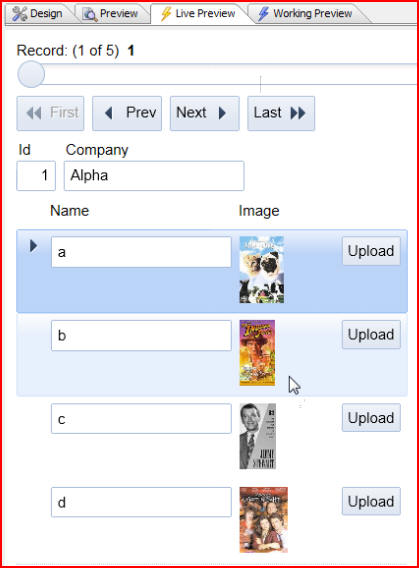
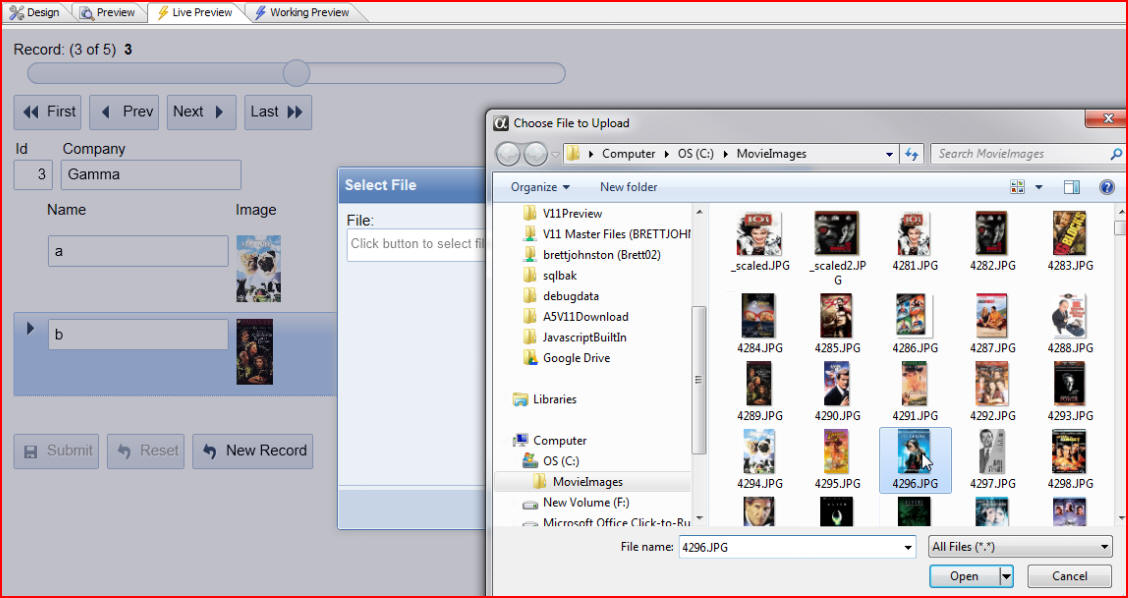
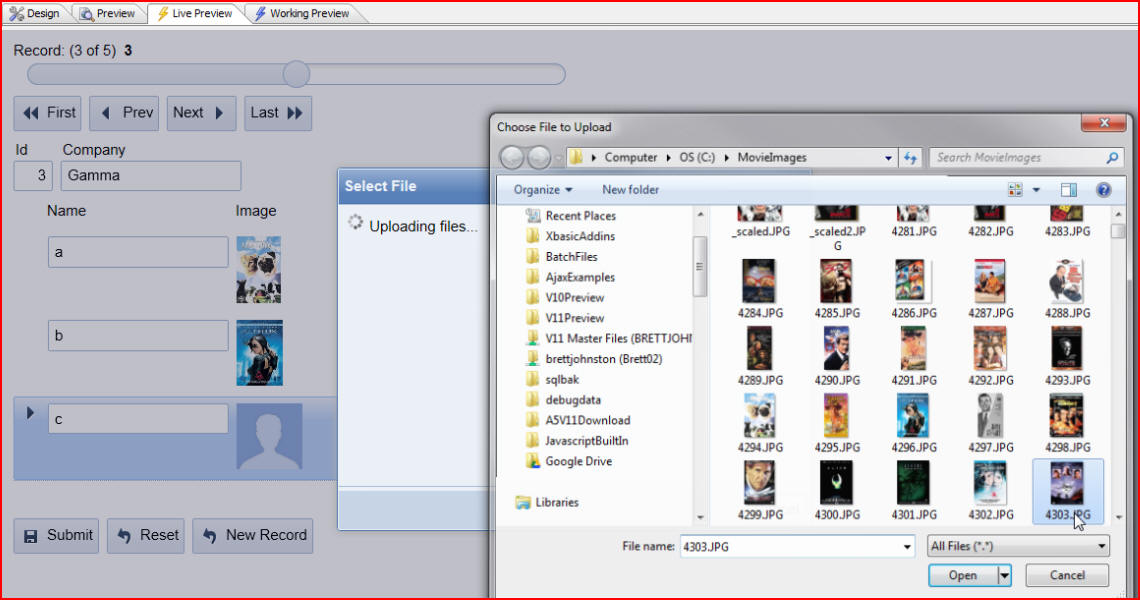
Image upload is also being supported in this example. When the Upload button is clicked, we can select an image from an image folder:
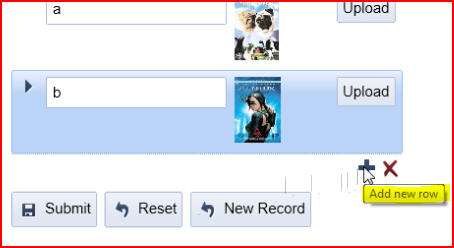
We can also easily add a new row to the repeating section:
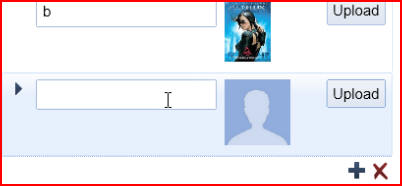
The image for the new row is automatically displayed:
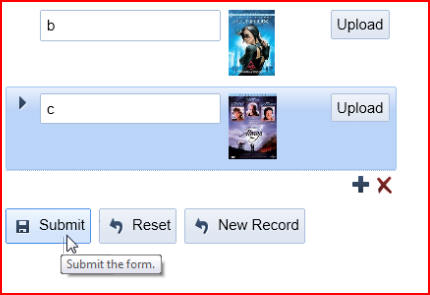
Let's name our new row C, and choose an image to upload:
Click Submit to commit these changes:
Then click on Click here to show/hide Server-side commands to see the Server-side SQL that was generated. The first statement shows us that there was an update for row b, and that we set the binary data:
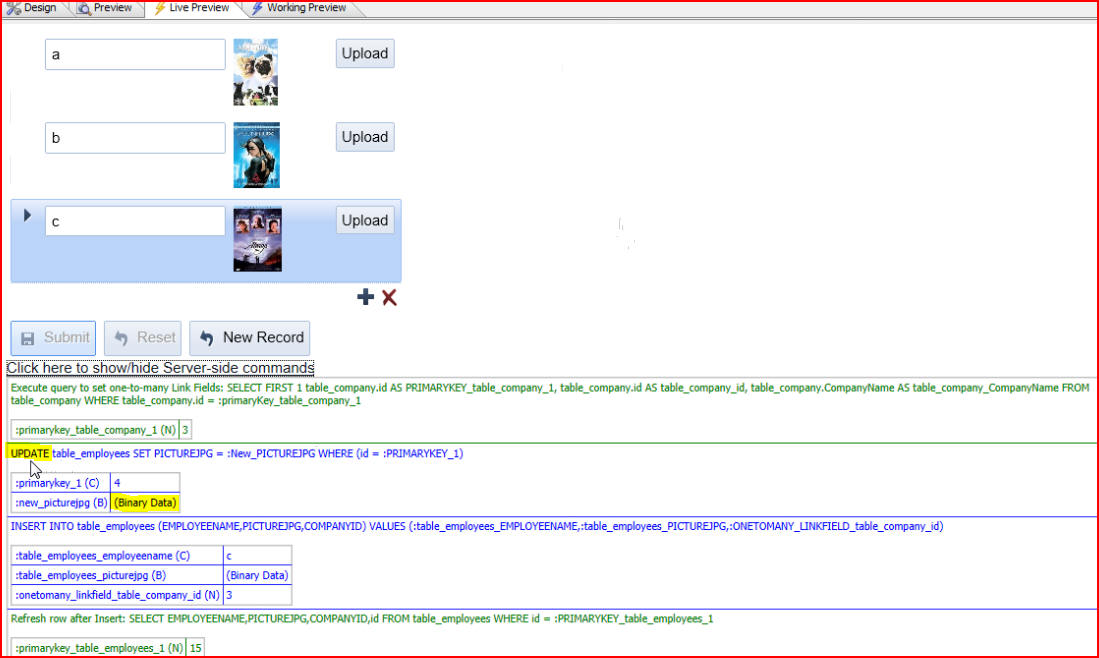
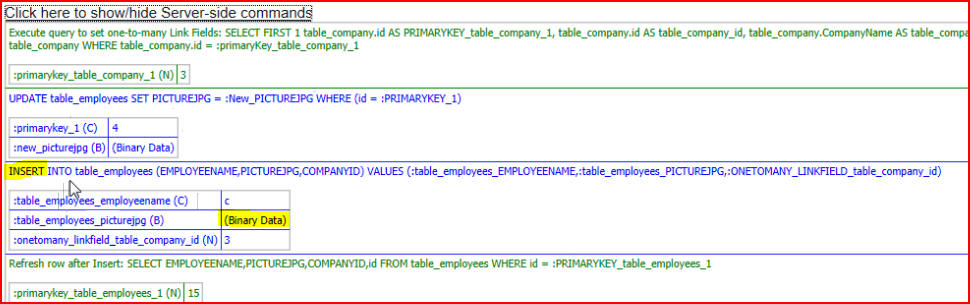
The second Server-side SQL statement shows us that we did an insert for row c, as well as set the binary data for the BLOB field:
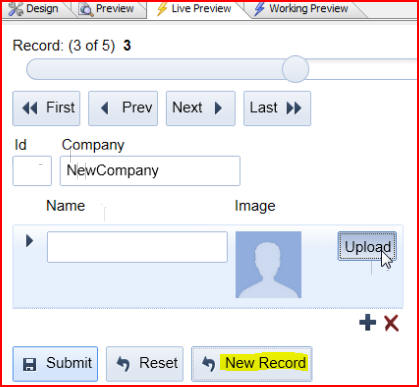
We can also easily create a new record by clicking the New Record button. For this example we will name the new record NewCompany, then click the image Upload button to choose an image from an image folder:
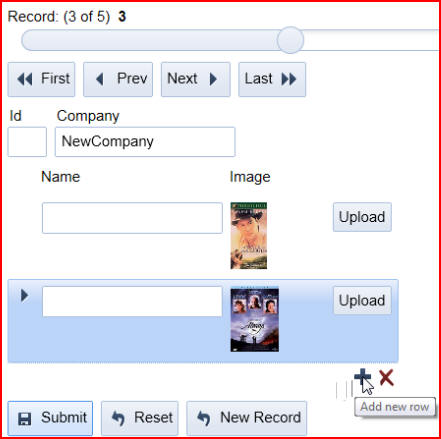
By clicking Add a new row and Upload we can quickly add rows and images to this new record:
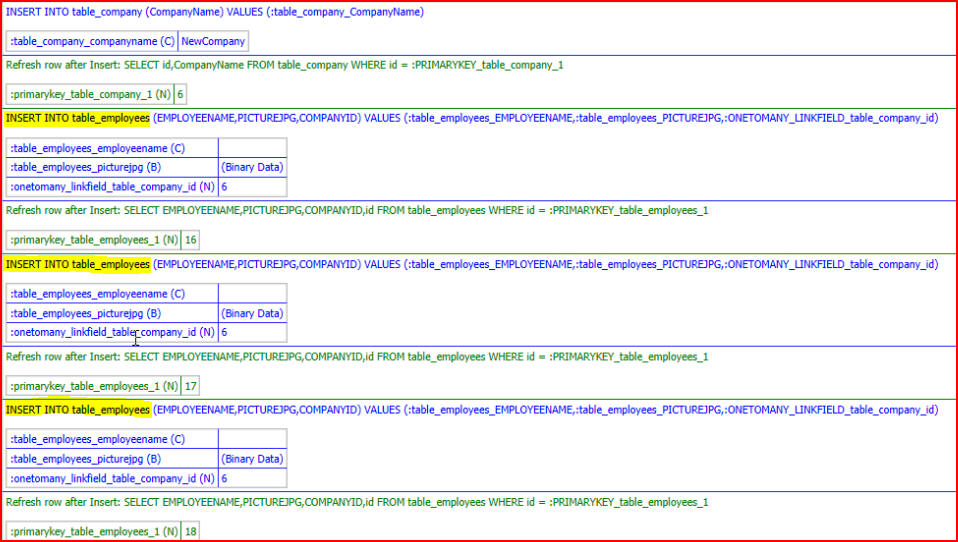
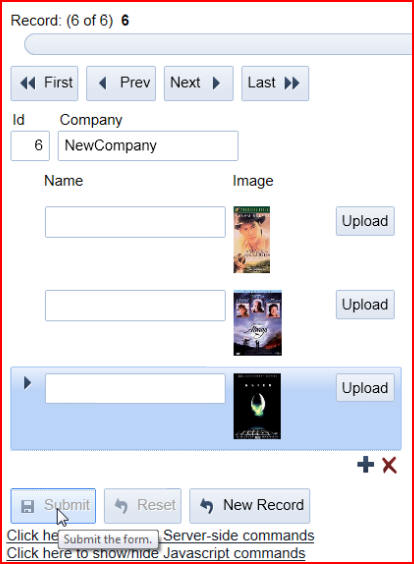
When we click Submit we will be creating a new Header record and three new Child records, and everything will be wrapped in that transaction:
Here the Server-side SQL that was generated shows us the statement INSERT INTO table_company, which is the Header record:
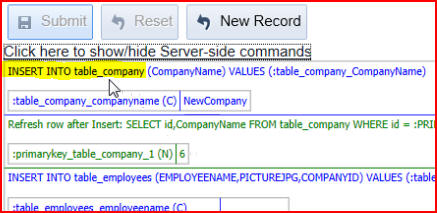
Followed by the statements for the three Child records, INSERT INTO table_employees: